They will fight in a best-of-three falls match, with no time limit!
Do you already know what your baby will dress up as this patriotic month?
If you're still unsure, don't worry, here's a fun and Mexican option: a professional wrestler look that will make your furry friend steal the show!
In Mexico, lucha libre is much more than a sport. It's an art form, a popular tradition, and a spectacle full of color, strength, and legendary masks. Since the 1930s, wrestlers have been cultural icons, folk heroes, and even symbols of resistance. The mask represents identity, mystery, and power—and this time, it's your furry friend's turn to be the star of the ring.
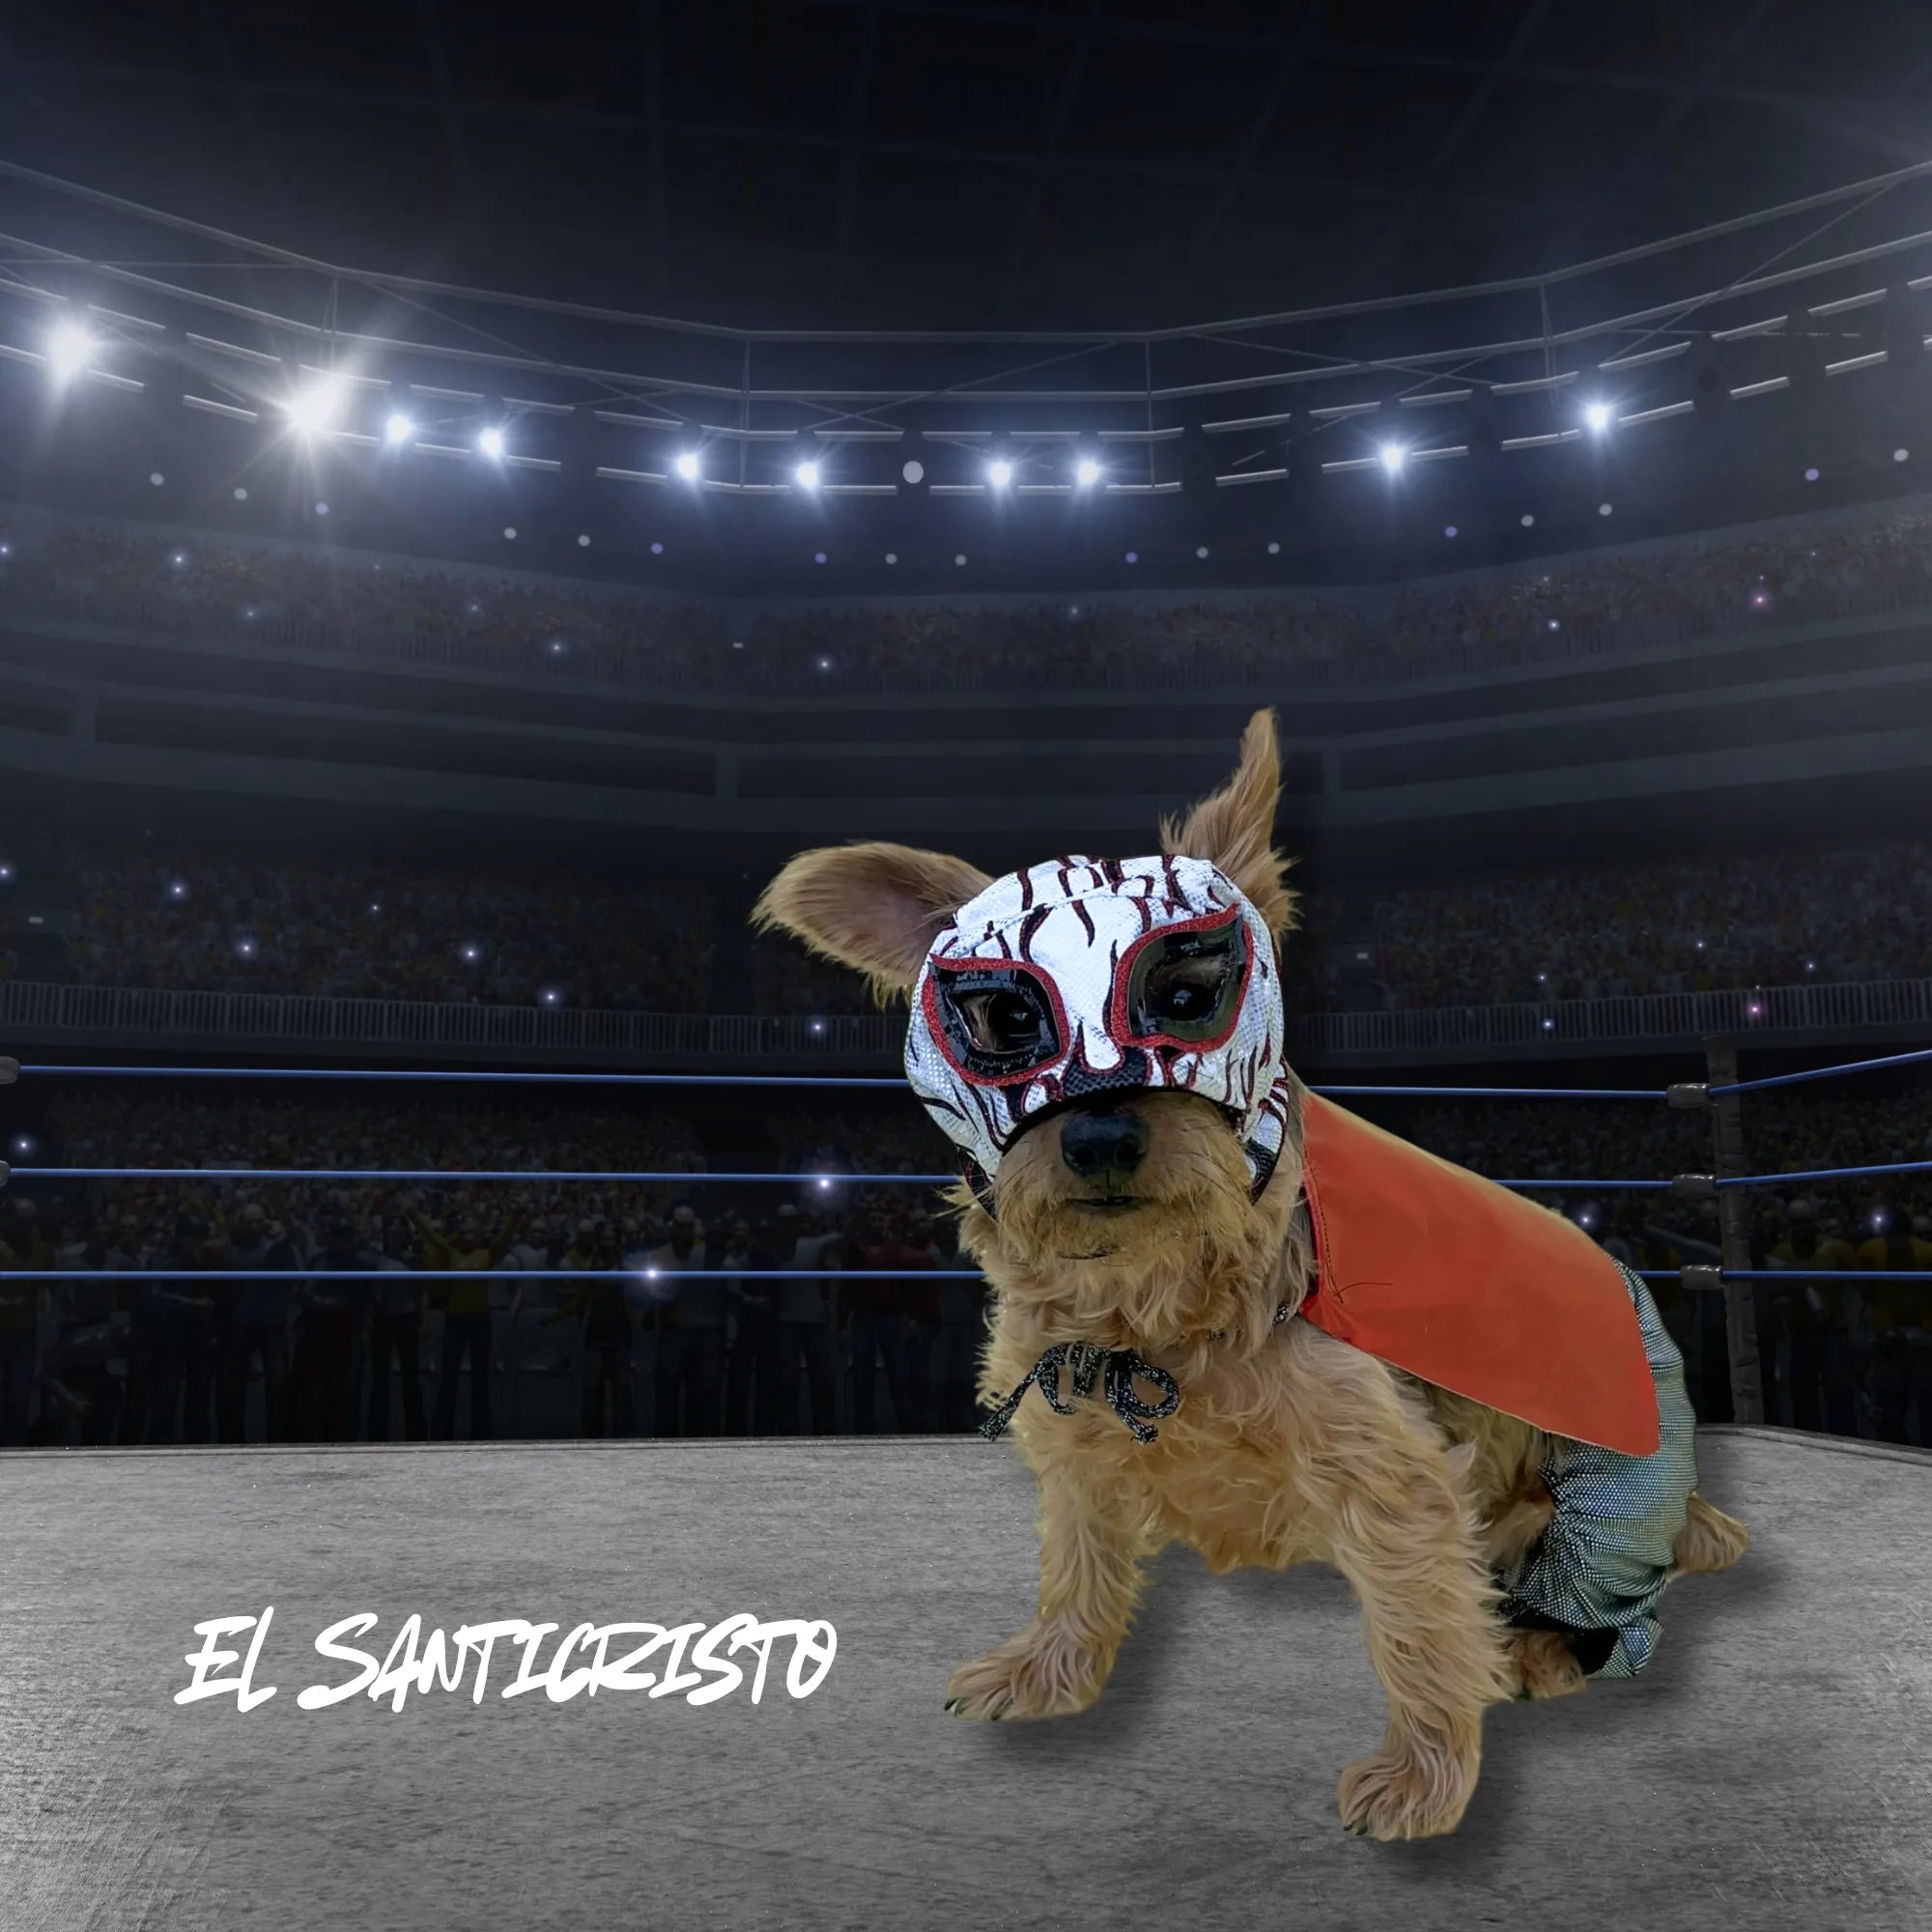
For this first design of the month celebrating Mexican Independence Day, I was inspired by Mexican wrestling and created a special mask for Santi, aka El Santicristo . I used the Pawdorable Hat pattern as a base (you can find it by size or in a bundle ) and transformed it to achieve that classic mask effect, perfectly adapted to his little face. I also paired the look with the pants fromPawtastic Pair I , because of course… every wrestler needs their complete triumphant entrance 😎
Keep reading to discover the step-by-step instructions, materials, sewing tips, and how you too can transform a basic pattern into a design worthy of the ring... But first, let's set the scene:
Step 1: Molding the mask directly onto your baby
To begin this project, the first thing I did was sew the little hat in lycra , which fits perfectly to the contour of the head.
Once the basic hat was finished, I added a rectangle of fabric to the front , running from the top of the head to the end of the snout, from side to side. This piece was key to giving it that enveloping, mask-like look, and it allowed me to mold it directly onto Santi's face, who, by the way, was a very cooperative and professional model.
With the base in place, I marked the exact position of the eyes and how far the rectangle could extend without obstructing her when she opened her mouth. I also added darts on the sides , which helped the fabric adapt much better to the curves of her head.

 .
. 
Step 2: Testing and refining the mask mold
The mask pattern looked something like this, with the base we had already molded directly onto Santi. Once I measured and cut the distance from the forehead to the snout, I adjusted the pattern and transferred it to a sandwich-type fabric , to see if this material could give the mask a bit more structure without losing flexibility.
Important tip: Whenever you're making something as tightly fitted as a mask, make a test sample before using the final materials. This allows you to test the visibility, fit, and comfort of the design.

This is what the new mold looked like; if you notice, there's a clip on the side.

I also cut out the eye pieces from faux leather (you can use scissors or a craft knife for a neater finish) and sewed them onto this first version. It was here that I noticed the eyes were too far apart and Santi couldn't see properly 🥲, so I decided to make a new version of the mask, correcting the position and distance of the openings .

Step 3: Sewing the final mask with holographic lycra
With the pattern corrected, I moved on to the final version of the mask using holographic lycra I bought from Iweytextil . For the construction, I followed the same method explained in the Pawdorable Hat tutorial, where you layer the outer fabric and the lining. In this case, I used the same lycra for both layers , but you could also use a plain lycra on the inside if you prefer a softer finish.
I chose Lycra because it's ideal for masks : it adapts perfectly to the contours of the face, it's lightweight, flexible, and doesn't bother the little ones.
Technical tip: When sewing this type of fabric, be sure to use a ballpoint needle for Lycra and, if possible, a Teflon foot . This will make the job much easier and prevent jamming.
I confess I thought sewing faux leather on this stretchy fabric was going to be a nightmare… but it wasn't . My Brother NV970L machine was an absolute dream: it didn't give me any trouble AT ALL , not even with the faux leather (which usually sticks terribly). 10000% recommended, bb. You can find more info here
Once the mask was assembled and lined , I precisely marked the position of the eyes, now adjusted and well centered so that Santi could see without problems.

The tweezers really help to mold it better to Santi's face. Obviously, this mold will change depending on your baby's face, so it's important not to rely solely on this and to trust your molding skills on your dog.


As you can see, there are two layers of vinyl on both the eyes and the cross. To avoid any problems, I glued it on with a special vinyl adhesive. I bought this vinyl in downtown Mexico City on Calle del Salvador; I think the store was called Jimmy, haha.
To sew the vinyl, you have to sew it as close to the edge as possible, both inside and out. This can increase the difficulty because sewing Lycra can be challenging enough, and sewing vinyl can be even more complex. I recommend that you sew slowly and without pressure, making sure that the base of the hat isn't wrinkling, but also not stretching it so that you deform it, okay?

Once that was finished, I also made a mask using holographic lycra, also from iwey, but for the lining I used the sandwich mesh from the beginning. I wanted to see what would happen and how it would mold to Santi's face, and this was the result.

If it has a more structured body but the muzzle is too raised, then I recommend using Lycra for both the base and the lining. You can also mark the ear holes for your baby; it's important that they don't get uncomfortable and are comfortable.
Step 4: Pants ready for the ring
To complete the outfit for El Santicristo, I used the Pawtastic Pair I pattern, which you know is one of my favorite basics for creating pants with different styles.
In this case, I only used the main pieces: yoke and leg , and sewed them together as shown in the tutorial. To give the design more comfort and flexibility, I added elastic in the crotch , which allows for a better fit when the baby moves around (or gets restless and decides to put me in a headlock).
At the top, I added a waistband with a 2.5 cm wide elastic , which keeps the pants in place without being too tight. This type of waistband is super practical and you can easily adjust it to fit your dog's size.
Step 5: Ready to give the little monkey his beatings

